How To Pick The Best Gravel Tires (For You)
This is one of the most common questions I get from gravel racers, more than any other discipline. And for good reason - the range of gravel conditions, the choices of tires available, and the wide range of racer bike handling skills is complex and these factors combine to lead to everyone's favorite answer: it depends!
First, let's review some general concepts about bicycle tires in general:
Thinner, more supple tires:
Tend to be faster due to less weight and lower rolling resistance.
Have a better feel and traction since they conform to the surface better.
Are more prone to punctures and sidewall cuts.
Are more expensive and don’t last as long.
Thicker, stiffer tires:
Are more durable with (usually) better puncture resistance.
Tend to be heavier with more rolling resistance.
Have a more rigid feel and tend to offer less traction.
Are cheaper and are often longer lasting.
It is possible to have fast, supple, reasonably light tires with excellent puncture and sidewall protection, but you will pay for it: $90-100+/tire is not uncommon. Follow the steps below and you can make smart choices without breaking the bank.
Step 1: What’s the course breakdown?
Determine how much of the course is off-road and on-road. Generally speaking, more dirt = more tire. For mostly road with a few dirt gravel sections, you can get away with 28-32mm tires. For mostly gravel with some road, 32-38mm will work. For primarily gravel or rough gravel courses, 38-40mm+ width is better. Even 50mm tires can be a better choice on very rough terrain or if you’re loaded down for an ultra-race or bikepacking adventure.
There are caveats to these sizes listed above, but this is a good place to start. Focus on what you’ll need for your A event. Most of us don’t have the time or money to switch tires for training and races, but if you do you can use tires better suited for your local courses and then switch for your races. Or something cheaper and more durable for training, then your expensive fast tires for racing.
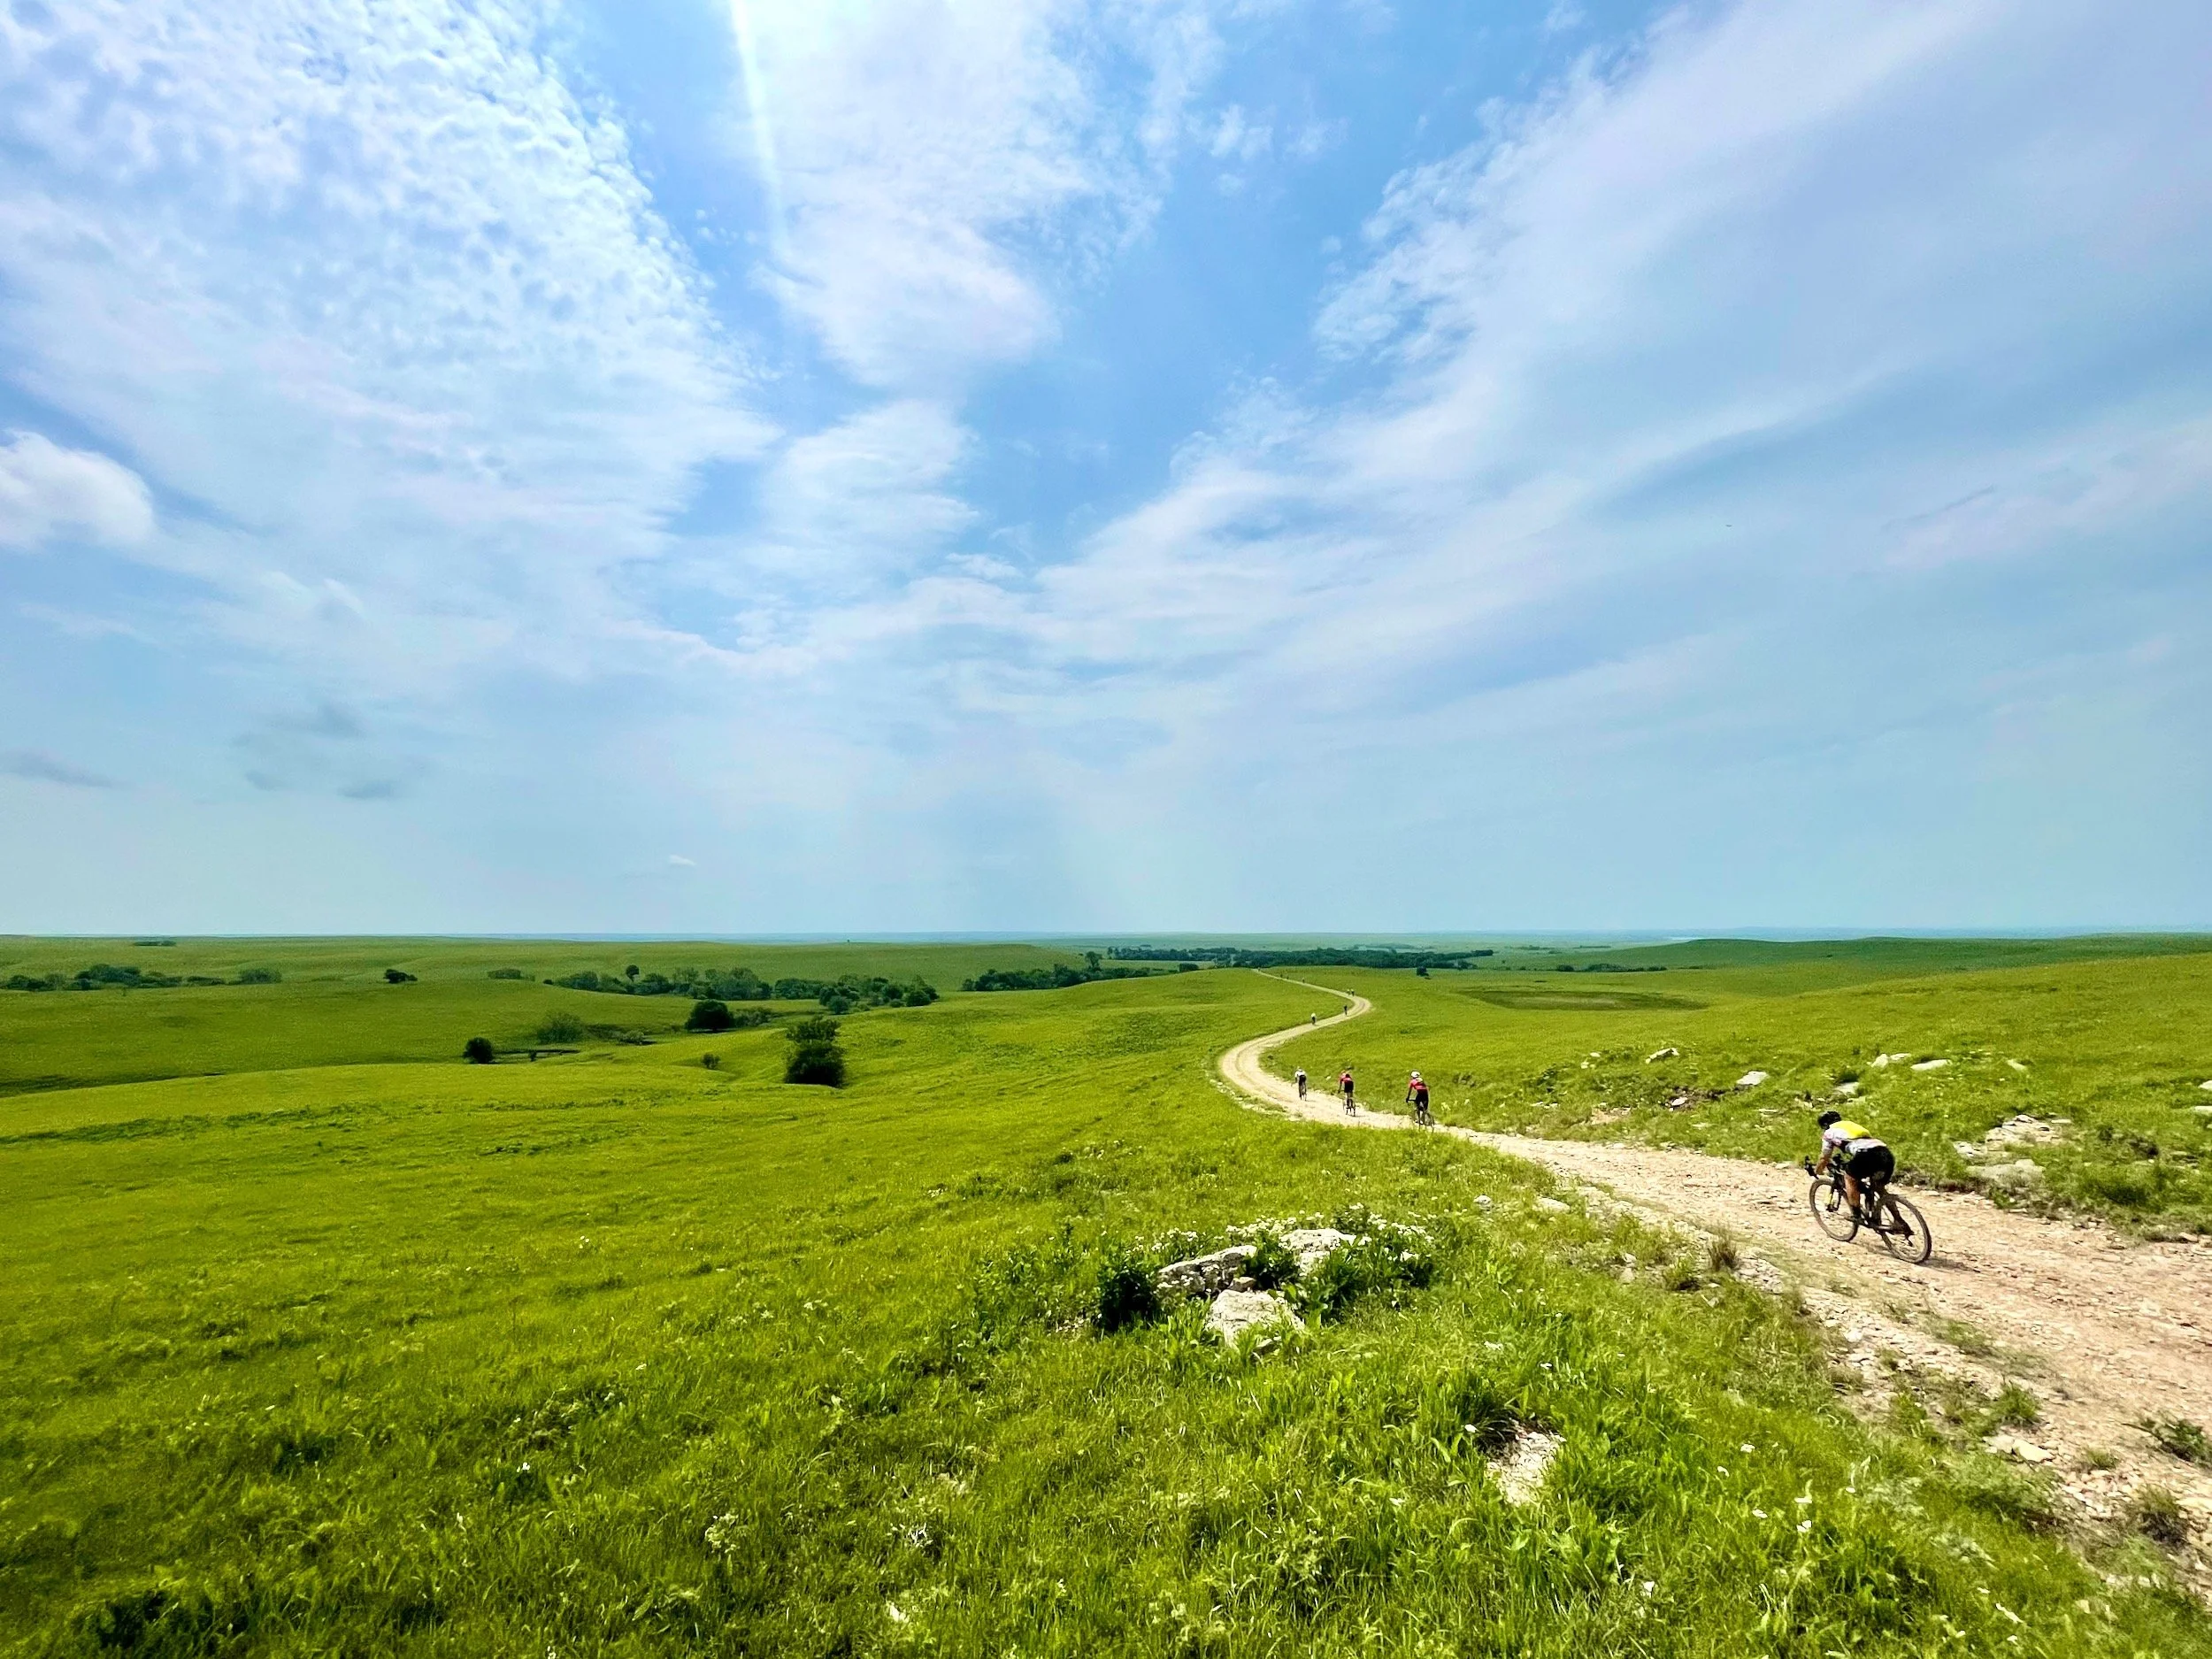
To determine conditions on unfamiliar courses, study the course file, satellite images and photos, look at photos on social media, read race reports, and ask those with firsthand knowledge. There’s lots of information online about big races, like Unbound or BWR, so check out YouTube and other sources for reports from amateurs and pros. For smaller events, you’ll have to do more of your own digging, but if in doubt use a bigger tire and/or more puncture protection.

Step 2: How’s your bike handling skills?
If you’re coming from a road riding background and don’t have a ton of off-road experience, you should use a slightly bigger, more durable tire. You’ll get a wider margin of error, more traction, and less likelihood of flatting if you hit a big hole or rock at speed.
If you’re very good technically or come from a mountain biking or cyclocross background, you can run a narrower or lighter tire. The advantage is reduced rolling weight and rolling resistance. That said, depending on the course you may still run a wider, tougher tire.
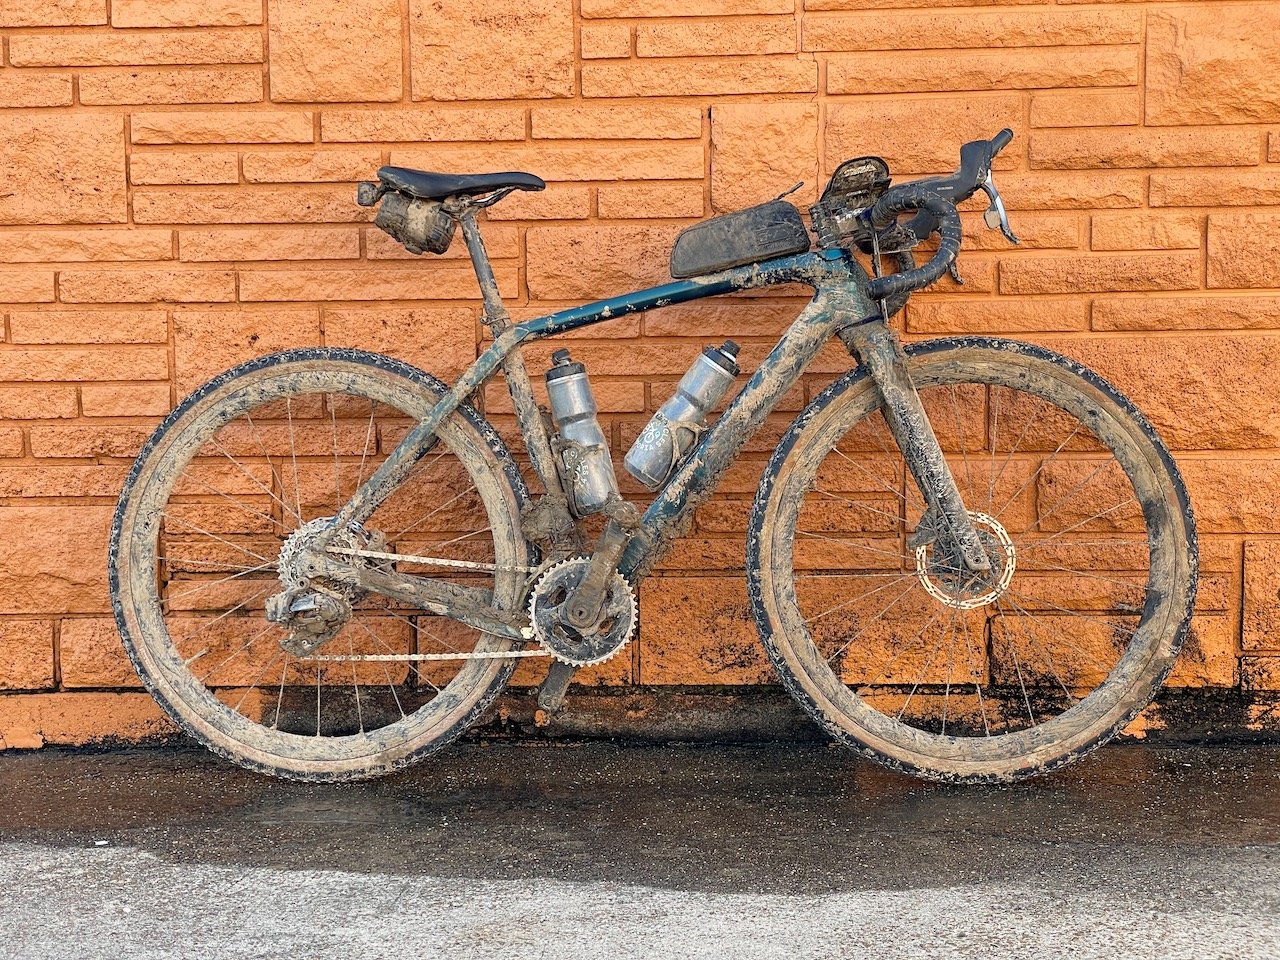
I’ve raced MTB and CX for years, but for Unbound I ran Rene Herse Hurricane Ridge 42mm with Endurance Plus puncture protection, as well as Vittoria inserts. The Unbound course in the Flint Hills of Kansas is notorious for shredding tires, so I didn’t want to risk a sidewall gash that I couldn’t repair. And in general, a significant mechanical will usually take more time to deal with that any time lost to a slower tire. So if in doubt, use a wider tire with more puncture protection.

Step 3: How rough is the course?
Gravel courses can include everything from packed smooth-ish dirt road to rough singletrack and everything in between. For smooth courses, you can get away with slick or semi-slick tread. Larger tires with more knobbies are safer for rough gravel or singletrack. Sandy sections go better with most knobbies, whereas mud is better with more widely spaced knobbies that shed mud better. However, if tire clearance in your frame is tight, then more knobbies can cause more mud buildup, so a narrower tire may be better in that case.
Bonus Advice:
Tire Pressure: This is one of the most important factors to consider because it is so specific to each athlete. Tire type and width, total system weight (bike, body, water, tools, etc), terrain, and rider speed and skill all play a major roll. In the past, higher pressure was thought to always be faster, however, we now know that lower pressure has less rolling resistance because the tire is absorbing (aka, deflection) the imperfections in the road rather than going up and over them. For instance, rather than pumping a road tire to 100psi or more, 80psi tends to be faster, and offers better traction. To determine your ideal air pressure, start with this Silca Tire Pressure Calculator, then experiment based on feel, both on the straights and the corners. Err on the side that feels better and inspires more confidence in the turns.
Tubeless Tires: tubeless tires with tubeless compatible rims allow you to forego tubes altogether with only liquid sealant in the tire. The sealant will fill a hole when a puncture occurs. Additionally, because you eliminate the risk of pinch flats associated with tubes, you can run lower air pressure which improves traction. Tubeless tires require more maintenance because you need to replenish the sealant every few months. They don’t always seal perfectly, but they can be a signifiant improvement in performance.
Tire Inserts: Inserts are a closed-cell foam product shaped like an inner tube that go into a tubeless tire. They offer more protection to tires and rims and allow even lower pressures than tubeless alone. They also can be ridden on for a short time without damaging your rim if you absolutely have to. When you want the most protection, they are a great choice.
As always, if you have any questions feel free to reach out or schedule a chat here: https://calendly.com/fsecoaching/60min